Preparation Copy the selections in the folder selections Open the masks "20-20" e "Narah_mask_Abstract289" on psp and minimize to icon Materials palette: foreground color #8ad0e8 and background color #1a6694
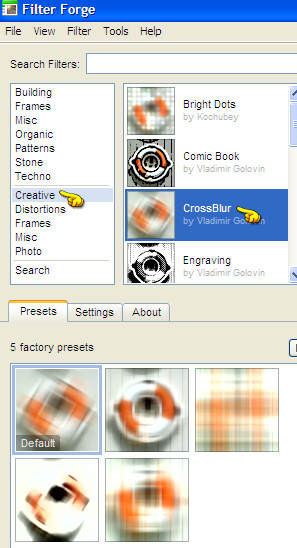
1. Open "fond_Scarlett". You're going to work on it. You can colorize it to much your work. Effects/Plugin/Unlimited 2/Bkg Designer sf10 I/Cruncher: default settings. Effects/Plug in/Filter Forge/Filter Forge 2:
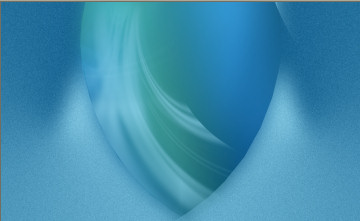
You should have this:
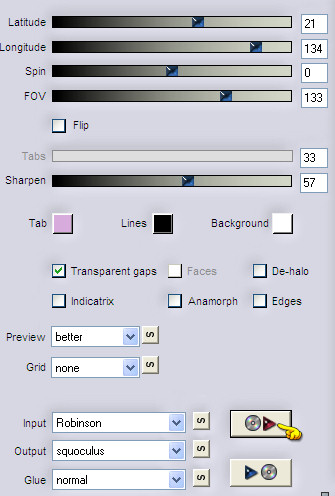
If you have problems with this filter there is attached the layer "effet_forge" with the effect to which to apply to colorize according to your colors. Layers/New Raster Layer. Flood fill with the light foreground color (for me #8ad0e8). Layers/New mask layer/From image and choose "Narah_mask_Abstract289": marquer uniquement source luminance. Layers/Merge/Merge group. Layers/Duplicate. Image/Flip. Layers/Merge/Merge down. Effects/Plug in/Flaming Pear/Flexify 2: click on the red arrow and search the preset "Scarlett_grsab_Flexify 2 settings":
Layers/Duplicate. Image/Mirroir. Image/Flip. Layers/Merge/Merge down. Effects/Plug in/Mura's Meister/Pole Trasform:
Effects/Image Effects/Seamless Tiling:
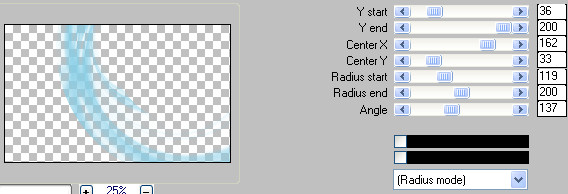
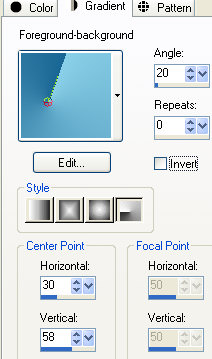
2. Layers/New Raster Layer. In your materials palette set the foreground to style radial:
Selections/Load/Load selection from Disk and choose "grsab_scarlett". Flood fill the selection with the gradient. Adjust/Blur/Gaussian Blur: radius 23. Adjust/Add noise: gaussian / monochrome / noise 10. Selections/Select none. Layers/Duplicate. Image/Mirroir. Layers/Merge/Merge down. You should have this:
Effects/Texture Effects/Soft plastic (colore #ffffff):
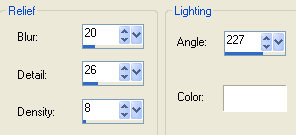
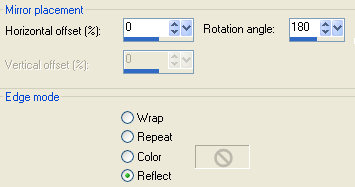
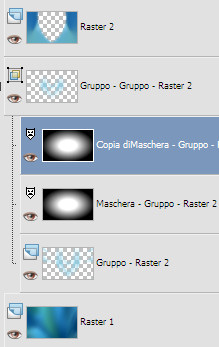
3. In the layers palette, activate the layer "Group of Raster 2". Effects/Reflection Effects/Rotating mirror:
Layers/New mask layer/From image and choose "20-20": marquer uniquement source luminance. Layers/Duplicate. You should have this:
Layers/Merge/Merge group. 4. Open the tube "decoscarlett". Edit/Copy and paste as new layer. No need to move. Activate the top layer (Raster 2). Open the tube "deco2scarlett". Edit/Copy and paste as new layer. Effects/Image Effects/Offset: horiz. 0 / vert. 70 / custom and transparent. Effects/Plug in/VanDerLee/Unplugged X:
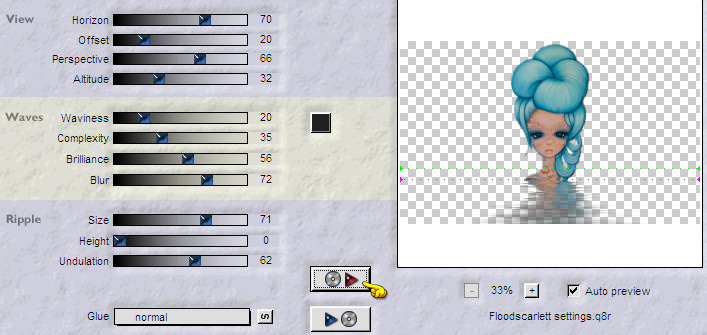
Set the blend mode to this layer to Screen and change the opacity to 73. Open the tube "deco3scarlett". Edit/Copy and paste as new layer. No need to move. Effects/3D Effects/Drop Shadow: 7 / 0 / 30 / 4,35 / #000000. 5. Open the tube "Scarlett_grsab". Edit/Copy and paste as new layer. Image/Resize to 60% (all layers not checked). Effects/Image Effects/Offset: horiz. 0 / vert. 40 / custom and transparent. Effects/Plug in/Flaming Pear/Flood: click on the red arrow and search the preset "Floodscarlett settings":
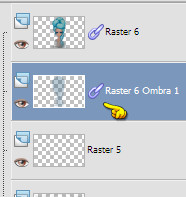
Effects/3D Effects/Drop Shadow: -10 / -10 / 30 / 4,35 / color #184b70 and Shadow on new layer checked. You are on the layer of shadow:
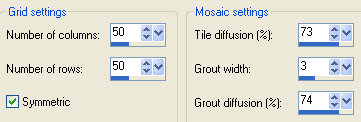
Effects/Texture Effects/Mosaic-Antique:
Layers/Merge/Merge visible. 6. Open the tube "deco4scarlett". Edit/Copy and paste as new layer. Effects/Image Effects/Offset: horiz. -312 / vert. 0 / custom and transparent. Blend mode of this layer to screen and opacity to 59. Effects/Distortion Effecs/Wave:
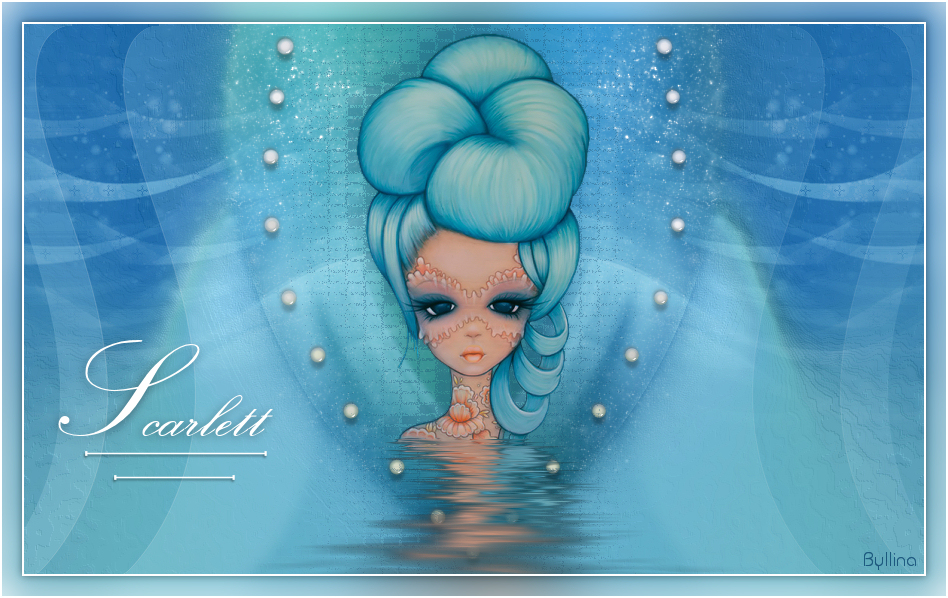
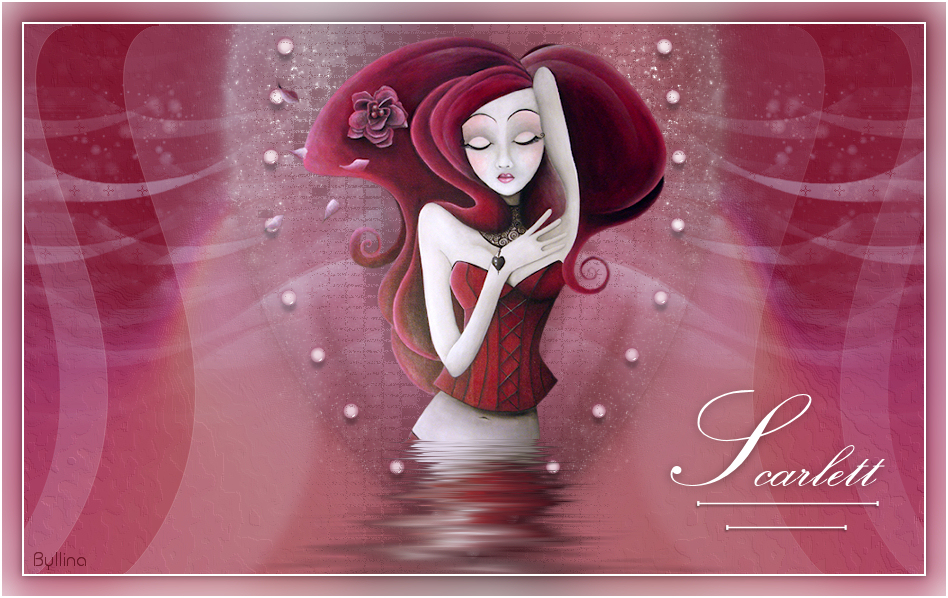
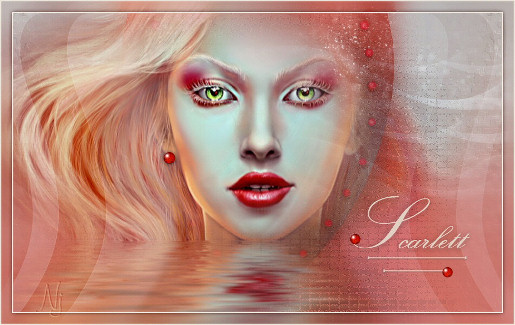
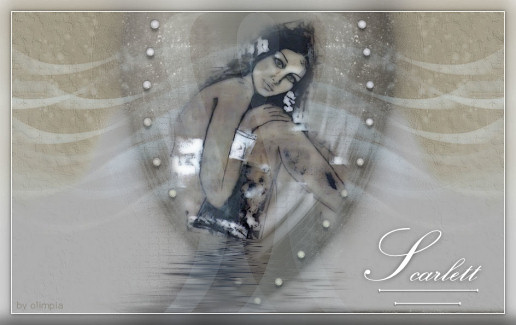
Selections/Load/Load selection from Disk and choose"grsab_scarlett1". Hit the Delete Key of your keyboard Selections/Select none. Layers/Duplicate. Image/Mirroir. Layers/Merge/Merge down. Blend mode of this layer to screen and opacity to 44. Effects/Geometric effects/Cylinder-Horizontal: strenght 50. 7. Image/Add borders symmetric of 2 px color #ffffff. Edit/Copy. Selections/Select all. Image/Add borders symmetric of 20 px color #000000 Selections/Invert. Edit/Paste into selection. Adjust/Blur/Gaussian Blur: radius 16. Selections/Invert. Effects/3D Effects/Drop Shadow: 0 / 0 / 43 / 11,59 / color #000000 and Shadow on new layer not checked. Selections/Select none. Image/Add borders symmetric of 2 px color #ffffff. Open the tube "titre_grsab". Edit/Copy and paste as new layer. Place where you wont. Add your signature. Layers/Merge/Merge all (Flatten). If you need resize and save as jpeg file. My version with Betsie's tube
If you wish you can send your version
Your versions - Thanks
Tutorial translated by Byllina the 30 september 2014 |