Preparation Copy the selection "grsab_plaisirhiver" in the folder selections Materials palette: foreground color #ffffff and background color #dceafe
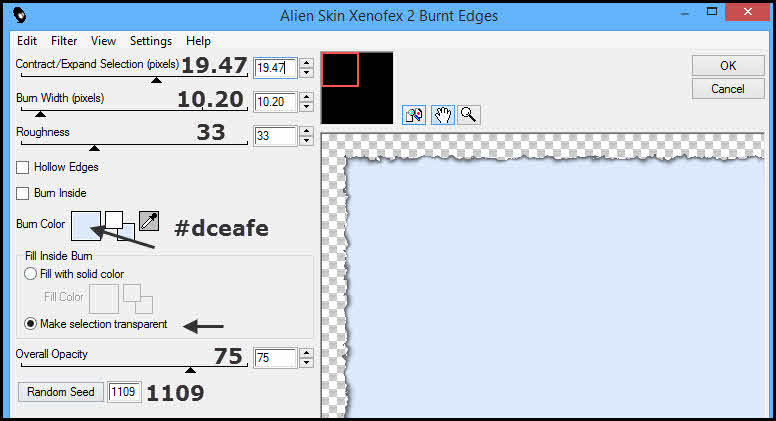
1. Open Open a new transparent image of 850 x 850 px. Flood fill with the foreground color. Layers/New Raster Layer. Flood fill with the light background color. Effects/Plugins/Alien Skin Xenofex 2/Burnt Edges:
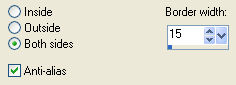
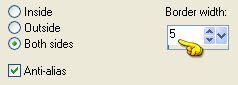
2. Layers/New Raster Layer. Selections/Load/Load selection from Disk and choose "grsab_plaisirhiver". Flood fill the selection with the foreground color. Selections/Modify/Select/Selection Borders:
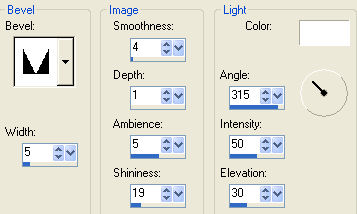
Layers/New Raster Layer. Flood fill with the color #b6dafb. Effects/3D Effects/Inner Bevel (color #ffffff):
In the layers palette, activate the layer below "Raster 3". Selections/Select all. Selections/Float. Selections/Modify/Contract of 40 px. Open the image "image_plaisir d'hiver". Edit/Paste into Selection. Selections/Modify/Select/Selection Borders:
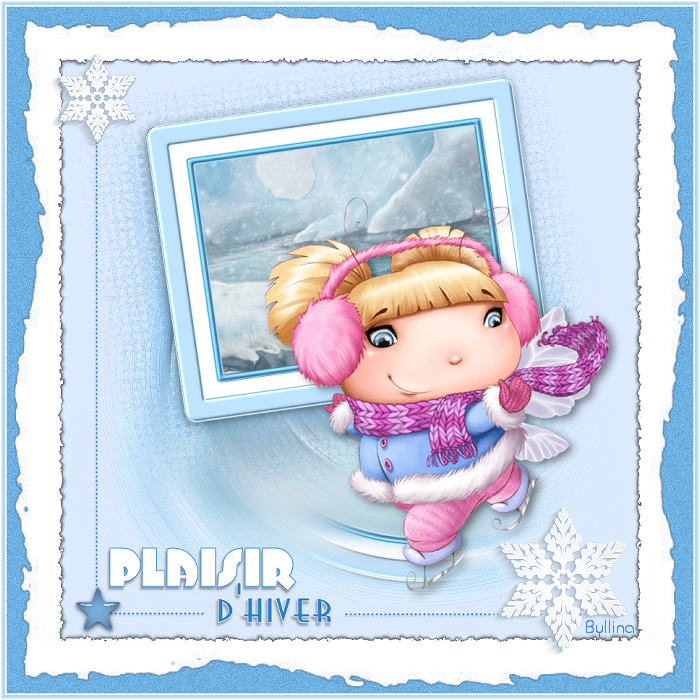
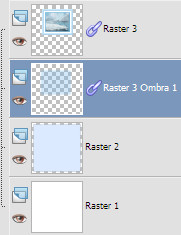
Flood fill with the color #6eb2e4. Effects/3D Effects/Inner Bevel: settings in memory. Selections/Select none. In the layers palette, activate the top layer (Raster 4). Layers/Merge/Merge down. 3. Effects/3D Effects/Drop Shadow: 26 / -22 / 31 / 24,64 / color #6eb2e4 and shadow on new layer checked. You should have this:
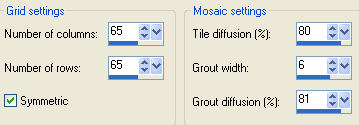
Effects/Texture Effects/Mosaic-Antique:
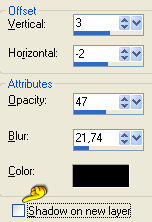
Layers/Duplicate. Layers/Merge/Merge down. In the layers palette, activate the top layer (Raster 3). Effects/3D Effects/Drop Shadow: 3 / -2 / 47 / 21,74 / colore #000000 and shadow on new layer not checked:
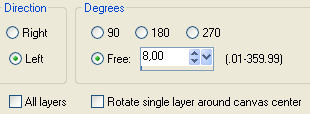
Layers/Merge/Merge down. Image/Free rotate:
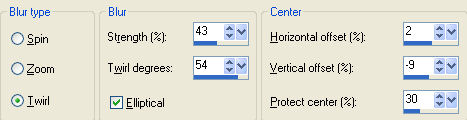
Layers/Duplicate. In the layers palette, activate the layer below (Raster 3 Shadow 1). Image/Flip. Adjust/Blur/Radial Blur:
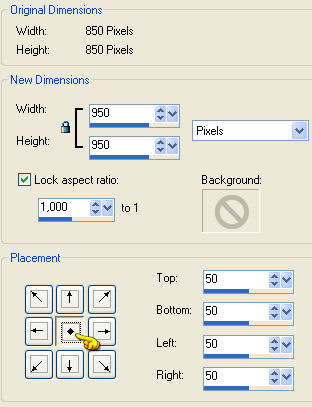
Effects/Image Effects/Offset: horiz. 0 / vert. 39 / custom and transparent. Change the opacity of this Layer to 55. Effects/Edge Effects/Enhance more. In the layers palette, activate the top layer (Copy of Raster 3 Shadow 1). 4. Open the tube"Graph-Sabine Design-Tubes 288". Edit/Copy and paste as new layer. Effects/Image Effects/Offset: horiz. 121 / vert. -62 / custom and transparent. Effects/3D Effects/Drop Shadow: 4 / 6 / 48 / 17,39 / color #000000. Open the tube "déco1grsabine". Edit/Copy and paste as new layer. Effects/Image Effects/Offset: horiz. -20 / vert. 6 / custom and transparent. Effects/3D Effects/Drop Shadow: 2 / 0 / 31 / 4,35 / colore #000000. Open the tube "déco2grsabine". Edit/Copy and paste as new layer. Effects/Image Effects/Offset: horiz. 289 / vert. -320 / custom and transparent. Adjust/Sharpness/Sharpen. Open the tube "Texte_plaisirdhiver". Edit/Copy and paste as new layer. Place like the final work. If you want to write a text of your choice you find the fonts attached in the material 5. Close the visibility of the background layer (Raster 1). Layers/Merge/Merge visible. Activate the background layer and open the visibility of this layer. Image/Canvas size:
Flood fill with the color #ffffff. Effects/Plugins/Unlimited 2/Edges, Square/Square Edge 12. Layers/New Raster Layer. Flood fill with the color #6eb2e4. Layers/Arrange/Move down. Adjust/Add noise: gaussian / monochrome / noise 15. 6. Layers/Merge/Merge visible. Image/Add borders symmetric of 2 px color #ffffff. Image/Add borders symmetric of 5 px color #b6dafb. Image/Add borders symmetric of 2 px color #ffffff. Image/Resize to 700 px of width. Adjust/Sharpness/Sharpen. Add your signature. Layers/Merge/Merge all (Flatten). Save as jpeg file. My version with Kristiw's tubes and misted by Kts
If you wish you can send your version
Tutorial translated by Byllina the 2 november 2014 |