Preparation Open in psp the masks "20-20" and "Narah_mask_0296": minimize to icon Place the frame "Corel_09_051.PspFrame" in the Folder frame Materials palette: Set the Foreground color on #caf0fe and the Background color on #080814. Used colors:
Note: When working with your own colors, play with the Blend mode and/or Opacity at your own discretion
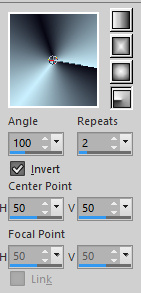
1. Open "Alpha_ Winter wonderland". Duplicate (SHIFT+D) and close the original. Work in the copy. Rename this layer "Raster 1". 2. Change the foreground to gradient style radial:
Flood fill the layer with the foreground gradient. 3. Layers/Duplicate. Image/Mirror/Mirror Horizontal. 4. Change the opacity of this layer to 50. Layers/Merge/Merge down. 5. Layers/Duplicate. Image/Mirror/Mirror Vertical. 6. Set the blend mode to this layer to Soft light. Layers/Merge/Merge down. 7. Effects/Image Effects/Seamless Tiling:
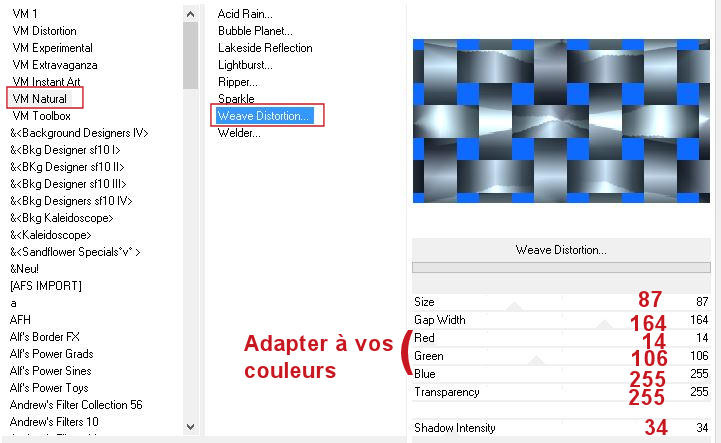
8. Layers/Duplicate. 9. Effects/Plugins/Unlimited 2/VM Natural/Weave Distortion:
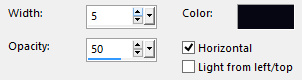
10. Effects/Plugins/Unlimited 2/& <Bkg Kaleidoscope>/Kaleidoscope 4 with default settings. 11. Effects/Texture Effects/Blinds (background color #080814):
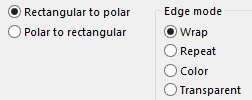
12. Layers/New mask layer/From image and choose "20-20": marquer uniquement source luminance. 13. Layers/Merge/Merge group. Set the blend mode to this layer to Hard light. 14. Activate the layer Raster 1. Selections/Load/Load selection from Alpha Channel and choose "Selection #1". 15. Selections/Promote selection to Layer. Selections/Select none. 16. Effects/Distortion Effects/Polar Coordinates:
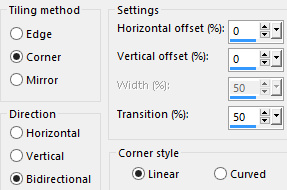
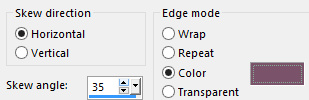
17. Effects/Geometric Effects/Skew (color #7a526a):
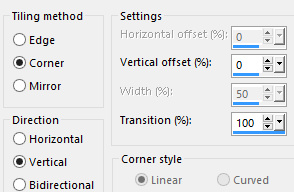
18. Effects/Image Effects/Seamless Tiling:
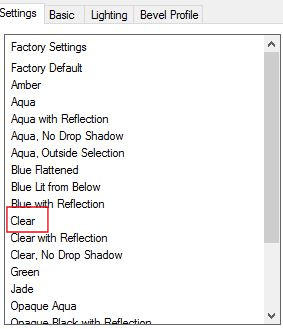
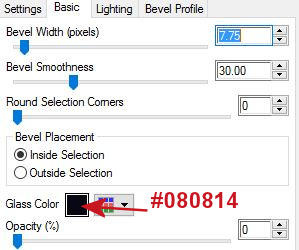
Set the blend mode to this layer to Screen. 19. Activate the top layer. Layers/New Raster Layer. 20. Selection/Select all. Open "Déco neige". Edit/Copy and paste into selection. Selections/Select none. 21. Adjust/Sharpness/Sharpen more. Change the opacity of this layer to 63. 22. Open the tube "Clipart Sapin". Edit/Copy and paste as new layer. 23. Image/Resize to 48% (all layers not checked). Effects/Image Effects/Offset: horiz. -310 / vert. -20 / custom and transparent. Adjust/Sharpness/Sharpen. 24. Open the misted "Mist paysage hiver". Edit/Copy and paste as new layer. Canc the signature. 25. Image/Resize to 70% (all layers not checked). Adjust/Sharpness/Sharpen. Change the opacity of this layer to 85. 26. Layers/New Raster Layer. Flood fill the layer with the color #ffffff. 27. Layers/New mask layer/From image and choose "Narah_mask_0296": marquer uniquement source luminance. 28. Layers/Merge/Merge group. Set the blend mode to this layer to Overlay. 29. Activate the layer Group-Copy of Raster 1. 30. Selections/Load/Load selection from Alpha Channel and choose "Selection #2". 31. Selections/Promote selection to Layer. Layers/Arrange/Bring to top. 32. Selections/Select none. Image/Resize to 20% (all layers not checked). 33. Effects/Plugins/Alien Skin Eye Candy 5 Impact/Glass: choose the preset "Clear":
34. Effects/Image Effects/Offset: horiz. -144 / vert. -200 / custom and transparent. 35. Layers/Duplicate. Image/Resize to 80% (all layers not checked). Place as final work. 36. Layers/Duplicate. Image/Resize to 80% (all layers not checked). Place as final work. You should have this:
37. Layers/Merge/Merge down twice. 38. Adjust/Sharpness/Sharpen. Effects/3D Effects/Drop Shadow: 2 / 2 / 50 / 25 / #000000. 39. Open the tube's woman "Femme hiver by Lily". Edit/Copy and paste as new layer. Canc the signature. 40. Image/Resize to 50% (all layers not checked). Place to right. 41. Image/Picture Frame and choose "Corel_09_051":
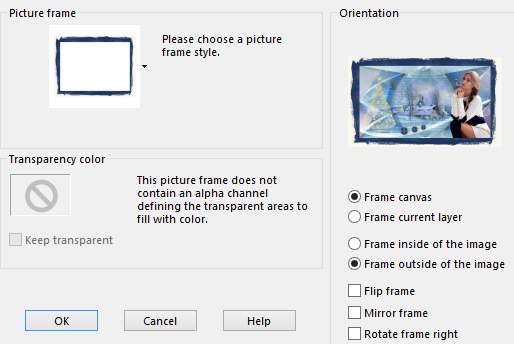
If necessary you can colorize the frame. 42. Open the tube's texte "Wordart de Kahlan". Edit/Copy and paste as new layer. Canc the signature. 43. Effects/Image Effects/Offset: horiz. -264 / vert. 237 / custom and transparent. 44. Effects/3D Effects/Drop Shadow (color #ffffff):
45. Effects/Distortion Effects/Wind:
46. Activate the top layer (Raster 6). Set the blend mode to this layer to Multiply. 47. Layers/New Raster Layer. Selections/Load/Load selection from Alpha Channel and choose "Selection #3". 48. Fill the selection with the color #ffffff. Selections/Select none. 49. Adjust/Sharpness/Sharpen. Effects/3D Effects/Drop Shadow (colore #000000):
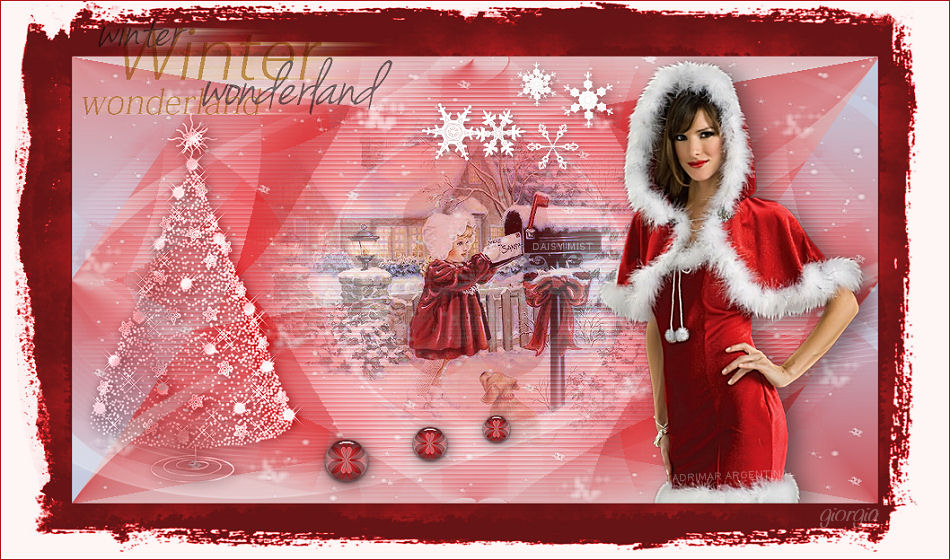
Place as final work. 50. Image/Add borders symmetric of 1 px color #080814. Add your signature. Layers/Merge/Merge all (Flatten). Image/Resize to 950 px of width. Save as jpeg file. My version with the tube woman by Gabry - misted by Montana Kate and deco by Clo
Le vostre splendide versioni - Grazie! La mia tester gioM - I versione
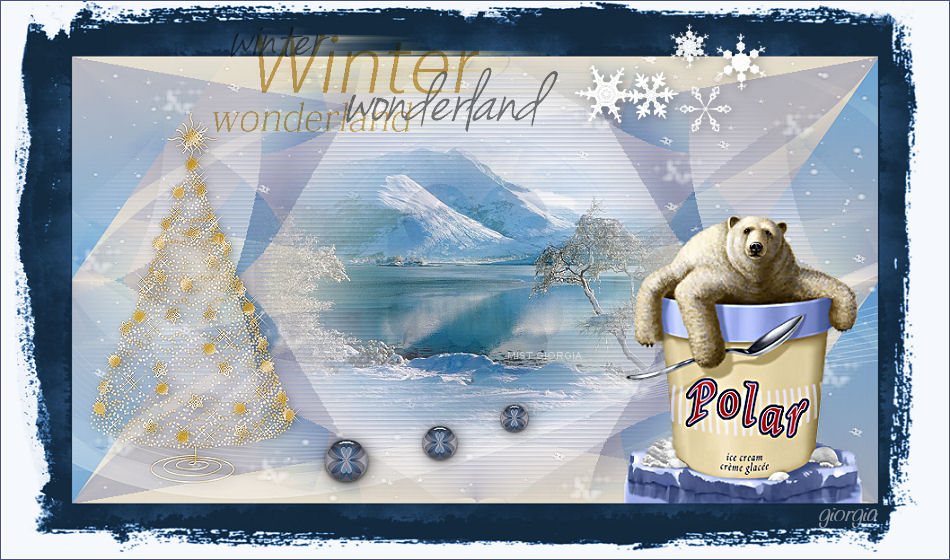
La mia tester gioM - II versione
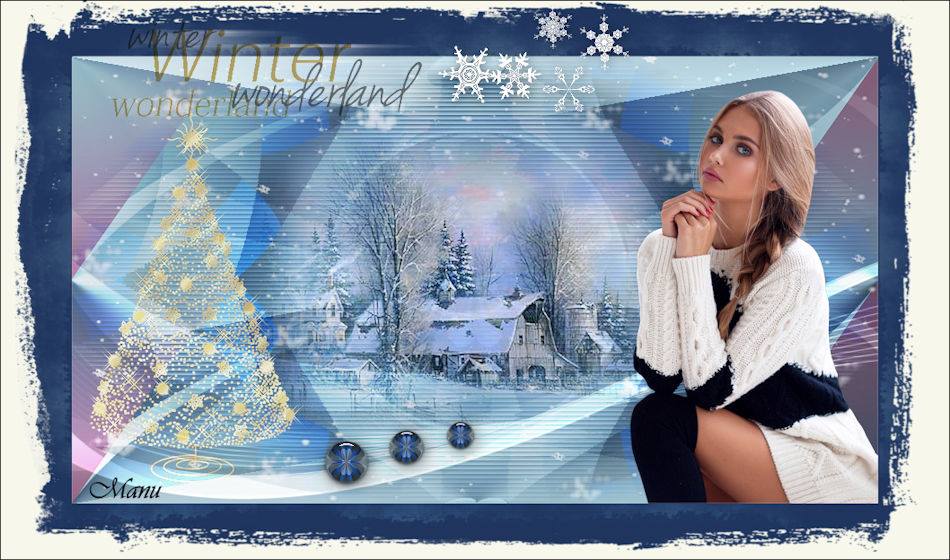
Manu I versione
Manu II versione
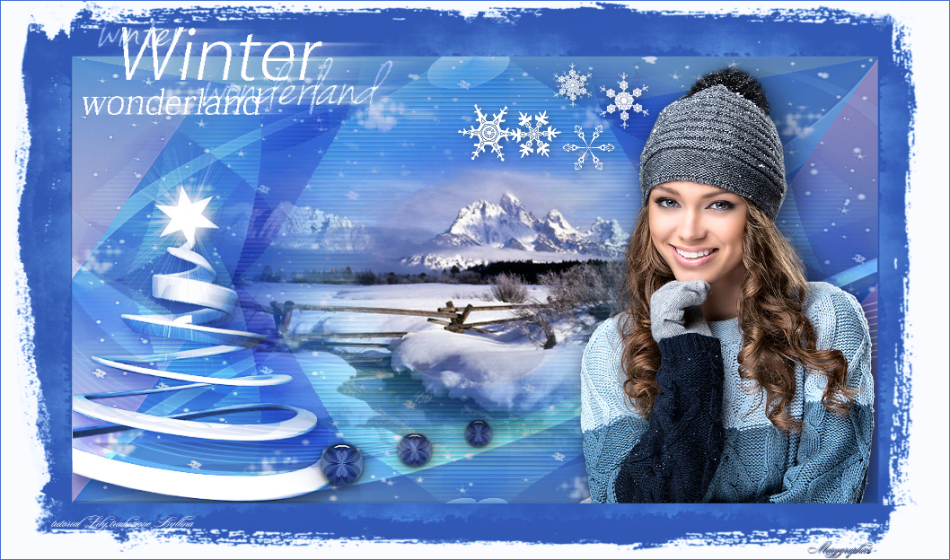
Marygraphics
Tutorial translated by Byllina the 18 december 2016 |