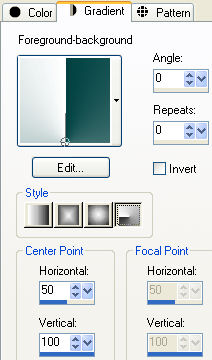
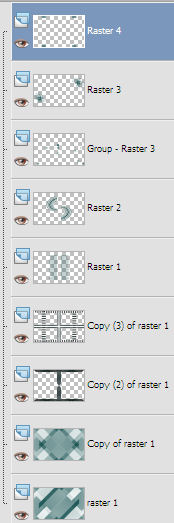
Preparation Copy the four files of the brush in the folder Brushes Open in psp "masque-mentali100" and minimize to icon These are the used colors: Set the Foreground color on #004040 and the Background color on #ffffff Change the foreground to gradient style radial:
Note: When working with your own colors, play with the Blend mode and/or Opacity at your own discretion
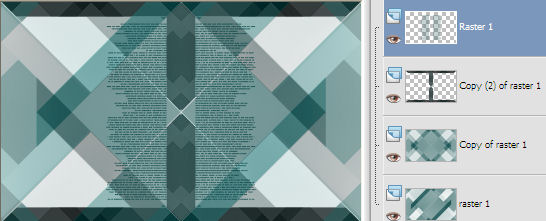
1. Open "alpha_noémie". Duplicate (SHIFT+D) and close the original. Flood fill with the gradient. 2. Effects/Plugin/Unlimited 2/Simple/Diamonds. 3. Effects/Plugin/Unlimited 2/Simple/Blintz. 4. Layers/Duplicate. Image/Mirror. Effects/Plugin/Unlimited 2/Simple/4 Way Average. Set the blend mode to this layer to Luminance (Legacy). 5. Layers/Duplicate. Effects/Plugin/Unlimited 2/Toadies/"Sucking Toad" Bevel II.2 : 70 / 62 / 43. 5 bis. Note: lf you use an other color than white in the background, go to step 6 without this step. Otherwise duplicate Raster 1 (the bottom layer). Image/Mirror. Image/Flip. Change the opacity of this layer to 50. Layers/Merge/Merge down. Activate the top layer (Copy 2 of Raster 1). 6. Effects/Plugin/Unlimited 2/Tile & Mirror/Mirrored & Scaled. 7. Selections/Load/Load selection from Alpha Channel and choose "Selection #1". 8. Selections/Invert. Edit/Cut (or hit the Delete Key of your keyboard). Selections/Select none. 9. Effects/Plugin/Unlimited 2/Simple/Top Bottom Wrap. Effects/Edge Effects/Enhance. 10. Layers/New Raster Layer. Activate the Paint Brush Tool and choose "4_Tiny_Text__Brushes_Large_By_Starlight1986_50": size 441. Apply as the example whit the foreground color (twice clic left mouse):
Layers/Duplicate. Image/Mirror. Layers/Merge/Merge down. You should have this:
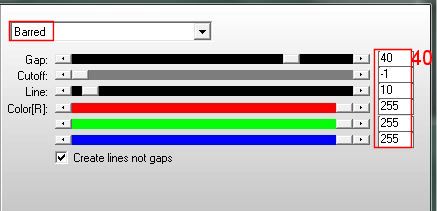
11. Layers/New Raster Layer. Selections/Load/Load selection from Alpha Channel and choose "Selection #2". Fill the selection with the background color (#ffffff). 12. Selections/Modify/Contract: 2 px. Flood fill with the foreground color (#004040). 13. Effects/Plugin/AP [Lines]/Lines/Silver-Lining:
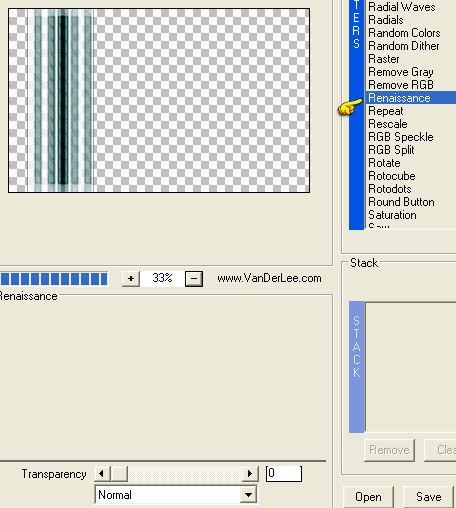
Selections/Select none. 14. Effects/Plugin/Unlimited 2/Toadies/What Are You: 20 / 20. 15. Effects/Plugin/VanDerLee/Unplugged X:
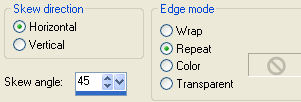
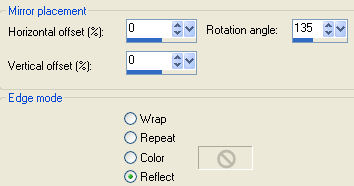
Effects/Image Effects/Offset: horiz. -53 / vert. 0 / custom and transparent. 16. Effects/Geometric Effects/Skew:
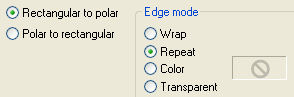
17. Effects/Distortion Effects/Polar Coordinates:
Layers/Duplicate. Image/Mirror. Image/Flip. Layers/Merge/Merge down. 18. Selections/Load/Load selection from Alpha Channel and choose "Selection #3". Edit/Cut (or hit the Delete Key of your keyboard). Selections/Select none. Effects/3D Effects/Drop Shadow: 1 / 1 / 35 / 5 / #000000. Change the opacity of this Layer to 70. 19. In the layers palette, activate "Copie 2 of Raster 1" (the third from the top). Layers/Duplicate. Effects/Plugin/AP [Lines]/Lines/Silver-Lining: settings in memory. 20. Effects/Reflection Effects/Rotating Mirror:
Layers/Duplicate. Image/Mirror. Image/Flip. Layers/Merge/Merge down. Set the blend mode to this layer to Soft Light and change the opacity to 65. 21. Activate the top layer (Raster 2). Layers/New Raster Layer. Flood fill with the foreground color (#004040). Layers/New mask layer/From image and choose "masque-mentali100": marquer uniquement source luminance. Adjust/Sharpness/Sharpen. Layers/Merge/Merge group. 22. Layers/New Raster Layer. Activate the Paint Brush Tool and choose "Lily_Brush_noémie": size 350. Apply in the top left with the foreground color (#004040):
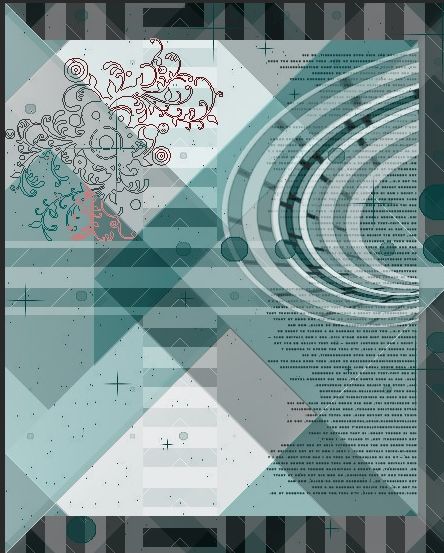
Image/Flip. 23. Layers/Duplicate. Image/Mirror. Image/Flip. Layers/Merge/Merge down. Effects/3D Effects/Drop Shadow: 0 / 0 / 55 / 1 / #004040. 24. Open the deco "Déco". Edit/Copy and paste as new layer. No need to move. You can colorize whit the H and S of your colors. You should have this:
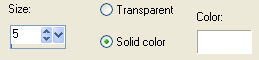
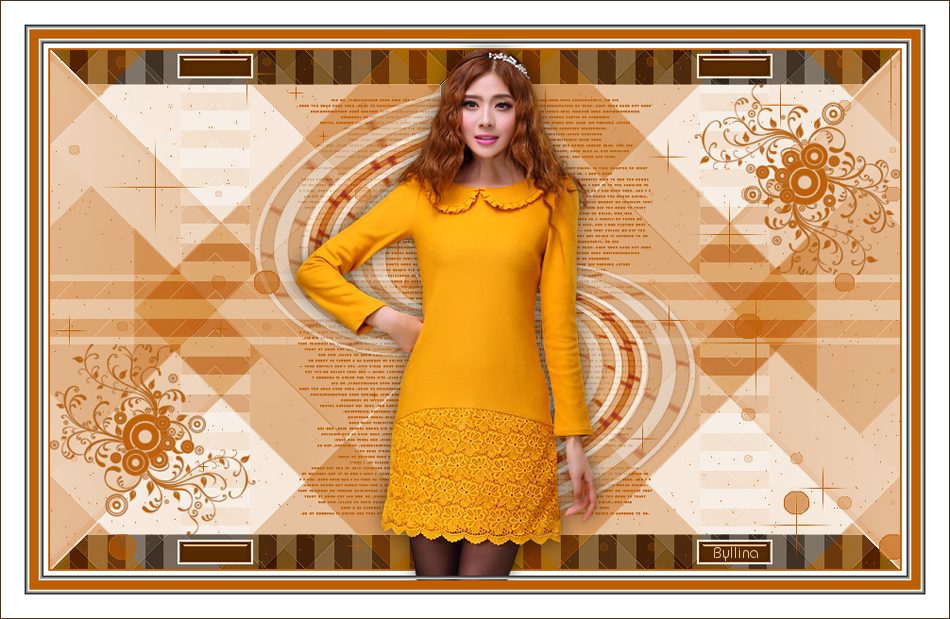
Layers/Merge/Merge all (Flatten). 25. Image/Add borders symmetric of 2 px foreground color (#004040). 26. Image/Add borders symmetric of 10 px background color (#ffffff). 27. Open the tube of woman "MR_Séduction"(erase the signature). Edit/Copy and paste as new layer. Image/Resize to 65% (all layers not checked). Place at the center. Effects/3D Effects/Drop Shadow: 0 / 0 / 55 / 30 / #000000. Adjust/Sharpness/Sharpen. 28. Image/Add borders symmetric of 10 px foreground color (#004040). 29. Image/Add borders symmetric of 30 px background color (#ffffff). 30. Select the border dark of 10 px with the magic wand tool. Layers/New Raster Layer. Effects/3D Effects/Chisel (color #ffffff):
Selections/Select none. Image/Add borders symmetric of 1 px color #000000. Add your signature. Layers/Merge/Merge all (Flatten). Image/Resize to 950 px of width. Save as jpeg file. My version with the Azalee's tube
If you wish you can send your version
Your versions - Thanks
Tutorial translated by Byllina the 28 september 2014 |